Why x402 fits premium data
Premium research feeds face a friction problem. Traditional API key models rely on monthly subscriptions or annual contracts, which creates a mismatch for data that is valuable but consumed sporadically. A hedge fund analyst might need a specific compliance report or a niche market snapshot once a week, but paying for full access every month wastes budget. x402 solves this by shifting from account-based billing to x402 micropayments, allowing you to pay only for the exact request you make.
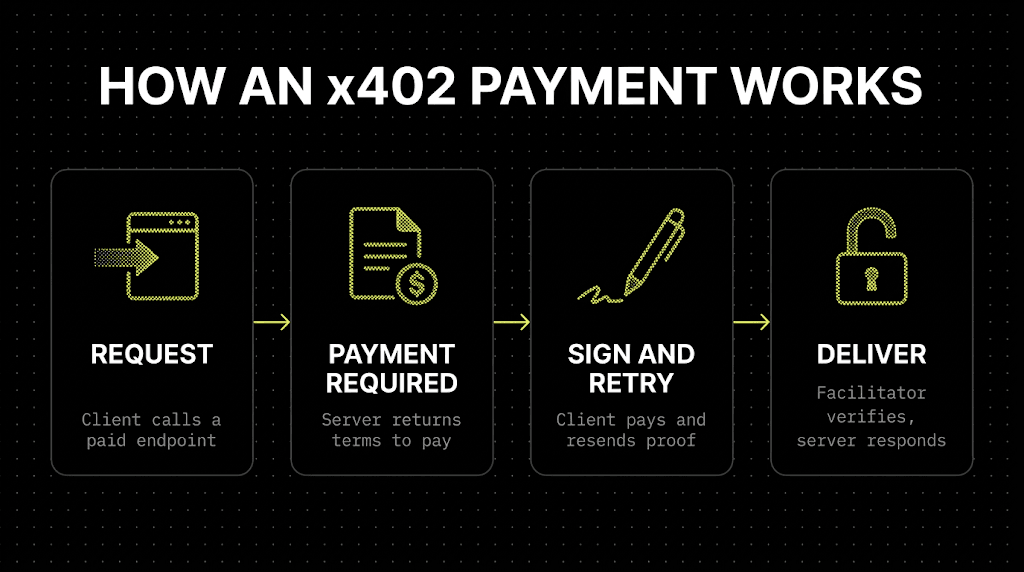
This protocol embeds payment logic directly into the HTTP standard. When an AI agent or a user requests data, the payment happens automatically at the protocol level. There are no accounts to create, no human approvals needed, and no complex billing cycles. The transaction settles instantly using stablecoins, typically USDC on the Base network, ensuring that the data provider gets paid before the response is delivered.
For high-value, low-frequency data, this model is superior. It removes the administrative overhead of invoicing and reduces the risk of non-payment for providers. For buyers, it eliminates the lock-in of long-term contracts, allowing for precise budget control over volatile or specialized market intelligence.
Set up the payment facilitator
To accept x402 payments, you need a facilitator that verifies tokens on-chain and returns access. Coinbase Developer Platform (CDP) provides a ready-made facilitator that handles USDC settlement and signature validation. This section walks you through the initial configuration of the CDP Facilitator to enable payment verification for your research feed.
Start by adding the facilitator SDK to your project. Run npm install @coinbase/cdp-facilitator (or the equivalent for your language) in your project root. This package contains the middleware and verification logic required to process x402 requests.
Create a .env file to store your wallet credentials and network settings. You will need a private key for a funded wallet on the target network (e.g., Base, Ethereum, or Solana) and the RPC endpoint URL. The facilitator uses these to sign transaction receipts and verify token balances. Keep these keys secure and never commit them to version control.
Import the facilitator in your server entry point and initialize it with your environment variables. Pass the network configuration and wallet details to the constructor. This instance will act as the bridge between your HTTP server and the blockchain, validating the x-pay header attached to incoming requests.
Add the facilitator's middleware to your API routes. This middleware intercepts requests, extracts the payment signature, and verifies the USDC transfer on-chain. If the payment is valid, it allows the request to proceed; if not, it returns an HTTP 402 Payment Required error. This ensures only paying users access your premium research data.

Use a tool like curl or Postman to send a test request with a valid x402 signature. You can generate a test signature using the facilitator's local development utilities. Confirm that your endpoint returns the expected research data when the payment is correct and rejects it when the signature is missing or invalid.
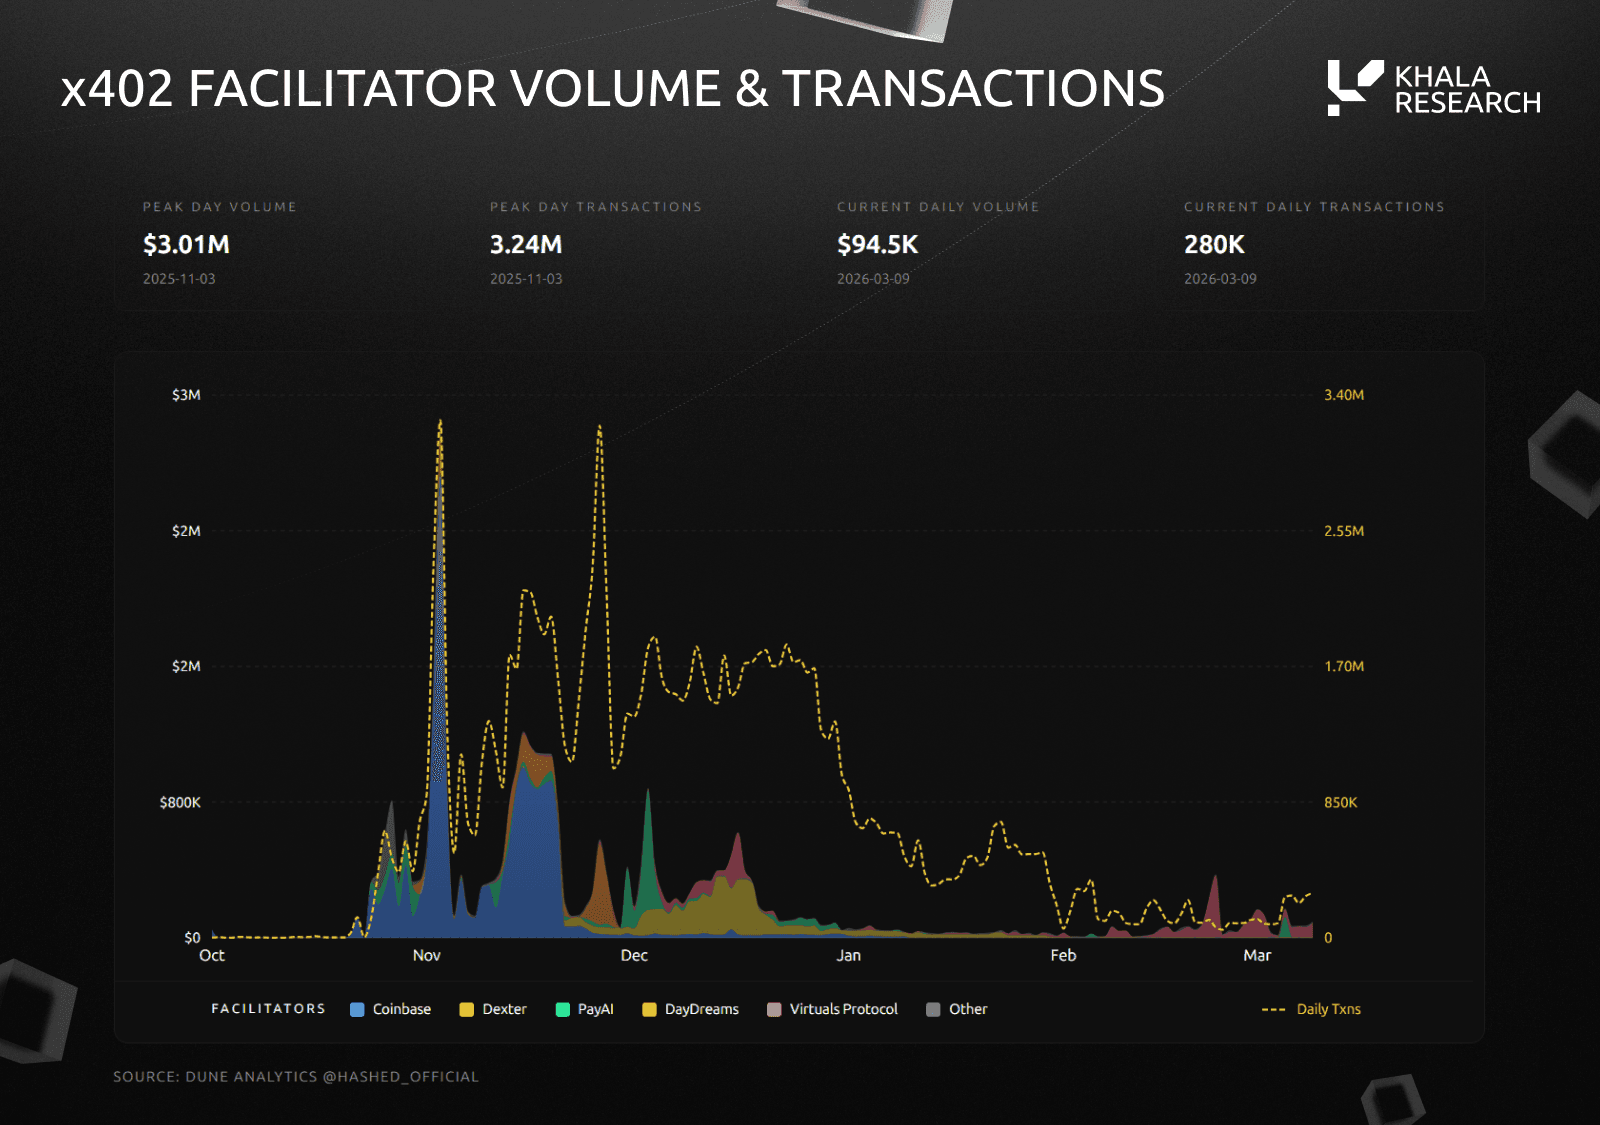
The facilitator relies on USDC as the primary settlement layer. Below is the current USDC price movement to contextualize the stablecoin value you will be receiving.
For more details on the discovery layer that indexes these endpoints, see the CDP Bazaar documentation.
Building the research endpoint
To turn premium research into a sellable asset, you need to build API routes that enforce the x402 standard before delivering any data. Unlike traditional paywalls that block page loads, x402 endpoints allow agents or users to fetch data directly, with the payment verification happening automatically at the protocol level. This section walks through the implementation of a specific route, such as /v1/company/research, ensuring that payment gates are robust and that the response only contains high-value intelligence for paying clients.
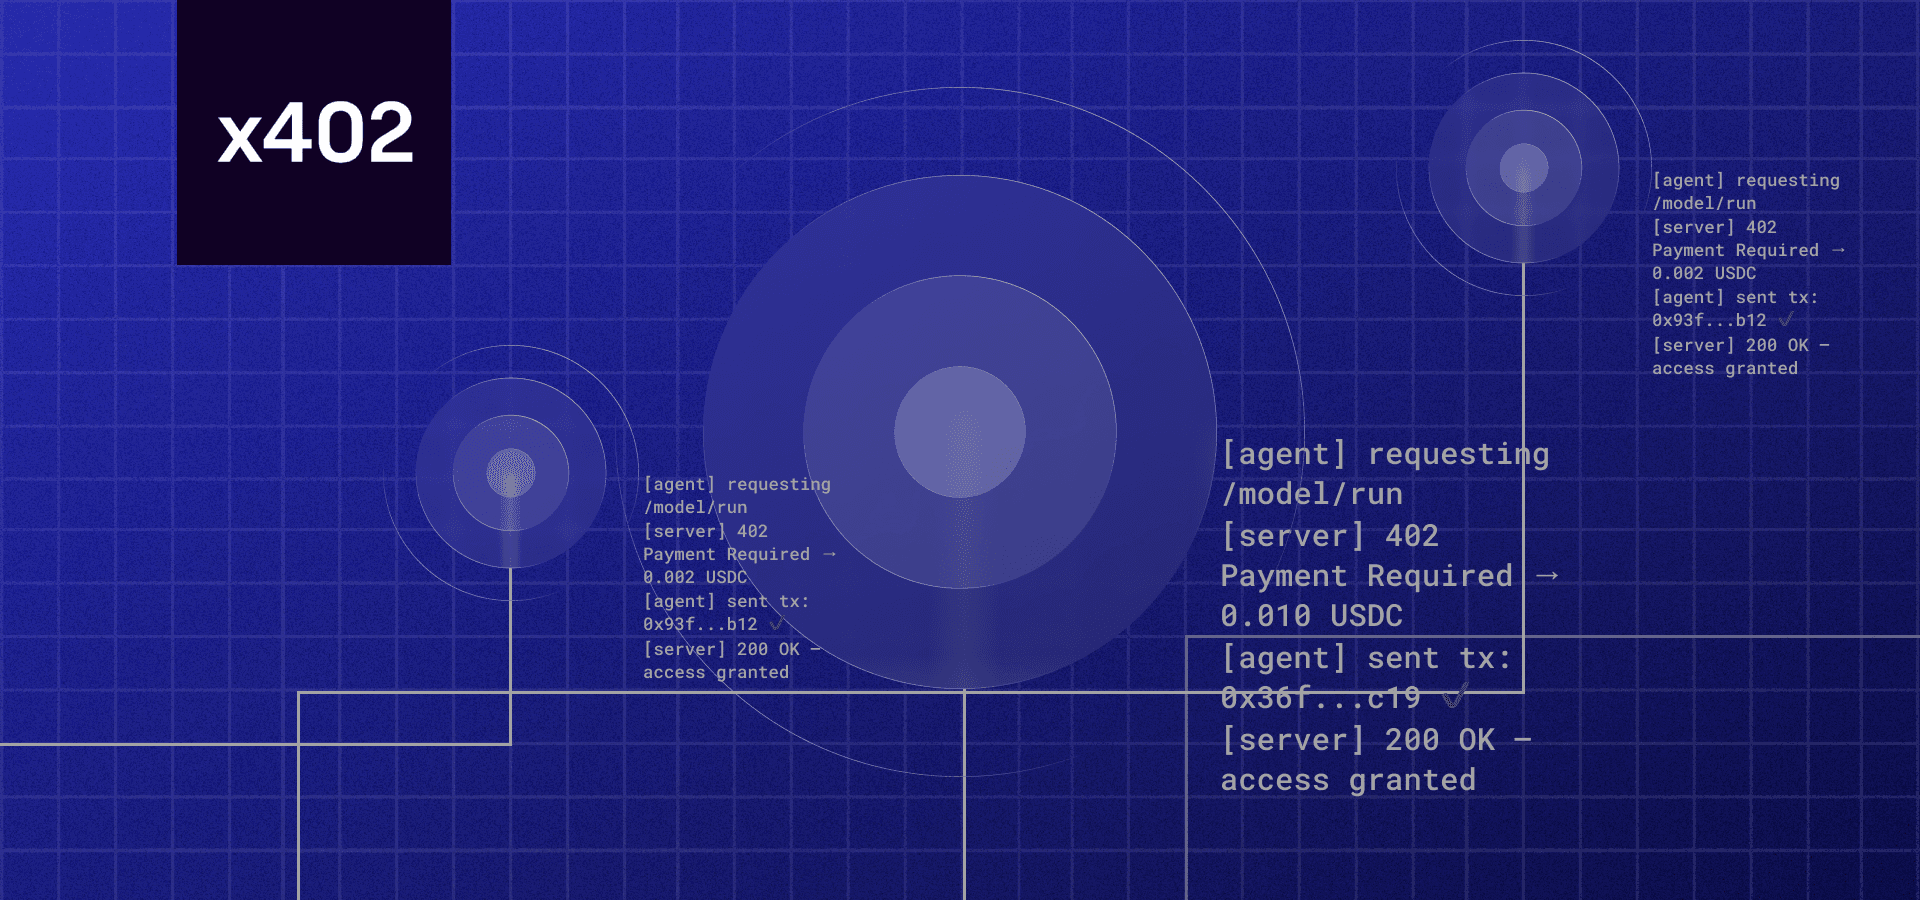
Start by defining your API route with a clear path that reflects the data being sold. A structure like /v1/company/research is predictable and easy for agents to parse. The endpoint should be designed to accept standard HTTP headers, including the Payment-Protocol header, which signals that the request is part of an x402-enabled flow. This clarity helps distinguish your premium research from public or free-tier data.
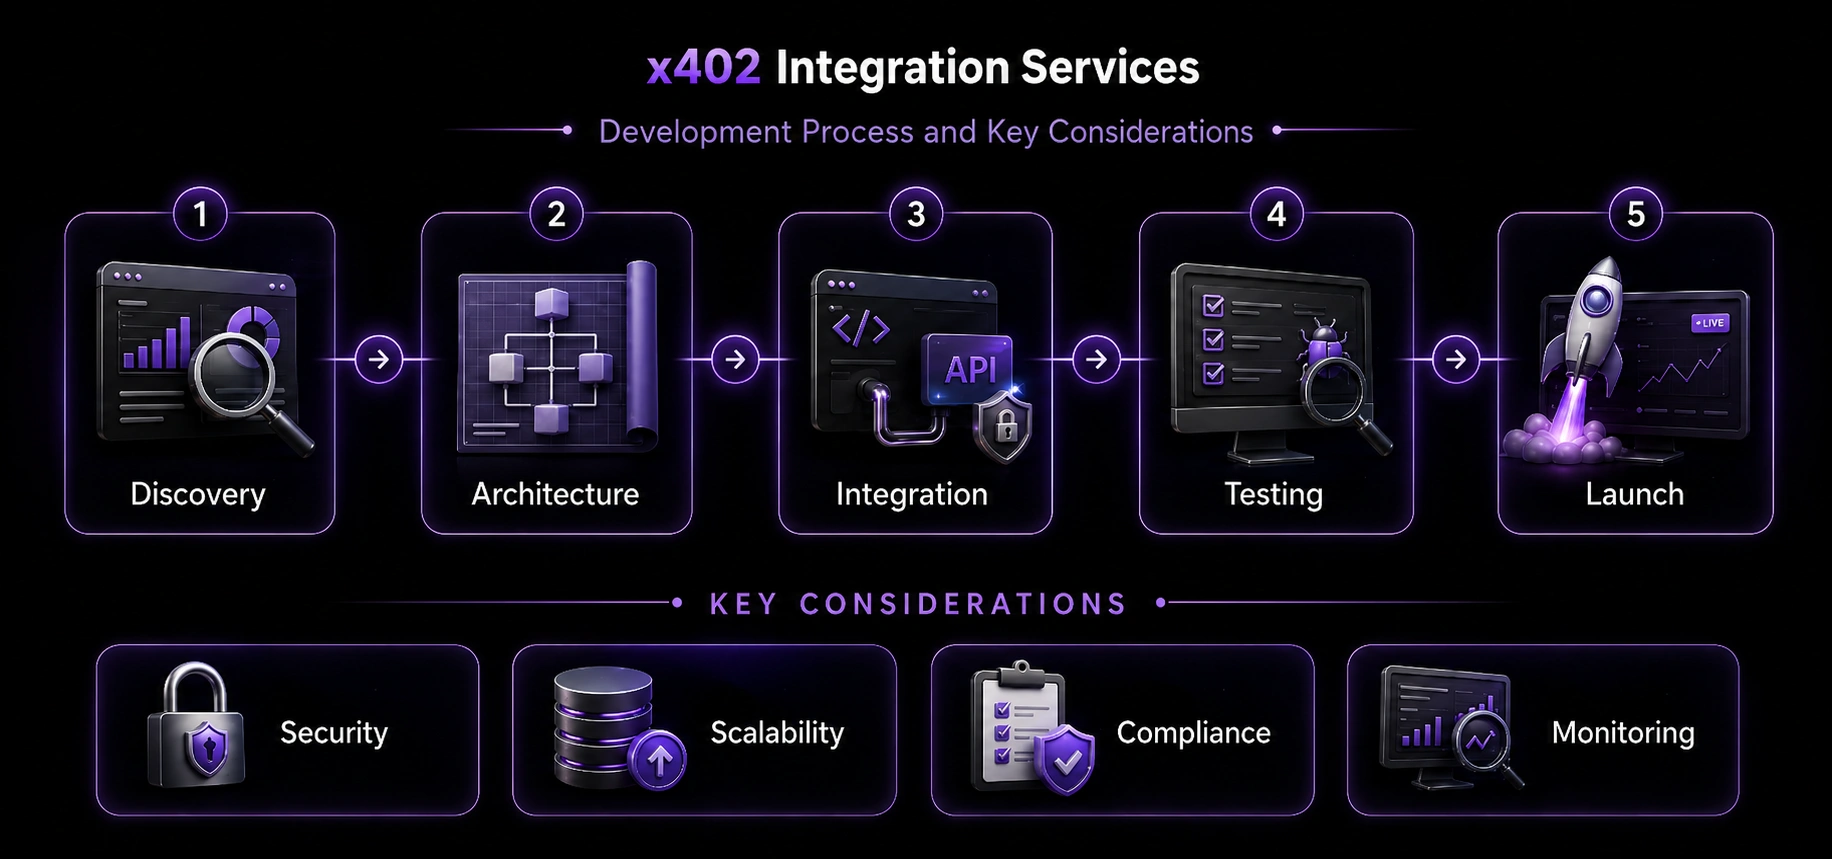
The core of your endpoint is the payment gate. Before your application logic processes the request, it must verify the x402 invoice. This involves checking the Payment-Protocol header to ensure it matches the x402 standard and validating the associated payment proof. If the payment is missing or invalid, the endpoint should return a specific error code that prompts the client to generate a new invoice, rather than a generic 403 Forbidden. This keeps the flow automated and frictionless for paying agents.
Once the payment is verified, your endpoint can safely retrieve the research data. This is where you access your database or external data sources to pull the specific company intelligence, competitor analysis, or sales signals. Ensure the data is formatted consistently, typically as JSON, and include relevant metadata such as the data timestamp, source reliability, and any usage restrictions. This step transforms raw data into a structured, valuable product that justifies the micropayment.
Finally, send the data back to the client with appropriate HTTP headers. Include standard headers like Content-Type: application/json and any custom headers that indicate the data's freshness or source. The response should be efficient and lightweight to encourage high-frequency usage by autonomous agents. By keeping the response clean and the payment verification seamless, you create a reliable endpoint that agents can integrate into their workflows with confidence.
This structure ensures that your premium research is protected and monetized effectively. By following these steps, you create an endpoint that not only delivers value but also enforces the payment protocol natively, aligning with the goals of agentic commerce. For more examples of such endpoints, you can explore the awesome-x402 repository, which lists various implementations including /v1/competitors/analyze and /v1/sales-signals/find.
Common integration mistakes
Building x402 endpoints for premium research feeds requires more than just adding a payment gateway. The protocol introduces specific constraints around state management and verification that, if ignored, can lead to data leaks or failed transactions. Most developers stumble on the same three pitfalls: improper error handling, exposing data before verification, and ignoring idempotency.
Exposing data before verification
The most critical mistake is returning the research feed data immediately after the client initiates the payment request. In x402, the payment is asynchronous. If your endpoint returns the premium content before the paymentConfirmed event is received, you are giving away free access. Always gate your response behind a state check. Verify the transaction status on your server before streaming or delivering any data.
Ignoring idempotency
Research feeds often trigger multiple requests from agentic workflows or retrying clients. If your endpoint processes every incoming request as a new payment, you will double-charge users and corrupt your revenue logs. x402 relies on idempotency keys to ensure that repeated requests for the same transaction are handled gracefully. Check for existing valid transactions before creating new payment records.
Poor error handling for failed payments
Network failures are common in agentic commerce. If your endpoint crashes or returns a generic 500 error when a payment fails, the agent may retry indefinitely, flooding your server. Implement specific error codes for PaymentPending, PaymentFailed, and InvalidToken. This allows the client to handle the state appropriately rather than looping.
Verify agent payments
Before you release premium research data, you must confirm the transaction is valid and the sender is an autonomous agent. x402 handles payment at the protocol level, meaning the HTTP response includes the payment proof. Your server needs to validate two things: the signature is legitimate and the funds are settled on-chain.
Check the signature and sender
The payment token contains a cryptographic signature from the agent’s wallet. Verify that the signature matches the expected public key for that agent. This ensures the request wasn’t forged and came from a verified AI identity. If the signature fails, reject the request immediately without serving any data.
Confirm on-chain settlement
A valid signature isn’t enough; the payment must be recorded on the blockchain. For premium research feeds, this typically means checking for instant USDC settlement on Base. Use a block explorer or a reliable indexer to confirm the transaction hash from the payment token exists and is confirmed. This step prevents replay attacks and ensures the agent actually paid for the access.
Comparison: x402 vs. Traditional Auth
| Feature | x402 HTTP-Native Payments | Traditional API Key Auth |
|---|---|---|
| Payment Integration | Built into HTTP headers | Separate billing system |
| Settlement | Instant on-chain (e.g., Base) | Batched monthly/quarterly |
| Agent Identity | Cryptographic wallet signature | Static secret key |
| Fraud Protection | Real-time verification | Post-facto auditing |
This structure eliminates the latency of traditional billing cycles and provides immediate proof of payment for every API call.
Register in the x402 Bazaar
With your endpoint live and verified, the next step is making it discoverable. The CDP Facilitator Bazaar acts as the central registry where AI agents scan for x402-enabled services. Without registration, your premium research feed remains invisible to automated buyers.
1. Access the CDP Facilitator
Navigate to the official x402 Bazaar documentation to access the discovery layer. This interface allows developers to catalog services that accept x402 payments. Ensure you are using a supported wallet or API key to authenticate your developer account before proceeding.
2. Submit Endpoint Metadata
Create a new listing by providing your endpoint URL, the specific data schema it returns, and the required payment parameters. Accuracy here is critical; AI agents rely on this metadata to match their queries with your feed. Include clear descriptions of the research data types, such as market sentiment or institutional flow, to attract the right buyers.
3. Verify and Publish
Once submitted, the Bazaar indexes your service. You can monitor the status through the developer dashboard. After verification, your endpoint becomes searchable. AI agents will now be able to discover, authenticate, and pay for your premium research feed automatically.
No comments yet. Be the first to share your thoughts!