Set up the x402 facilitator
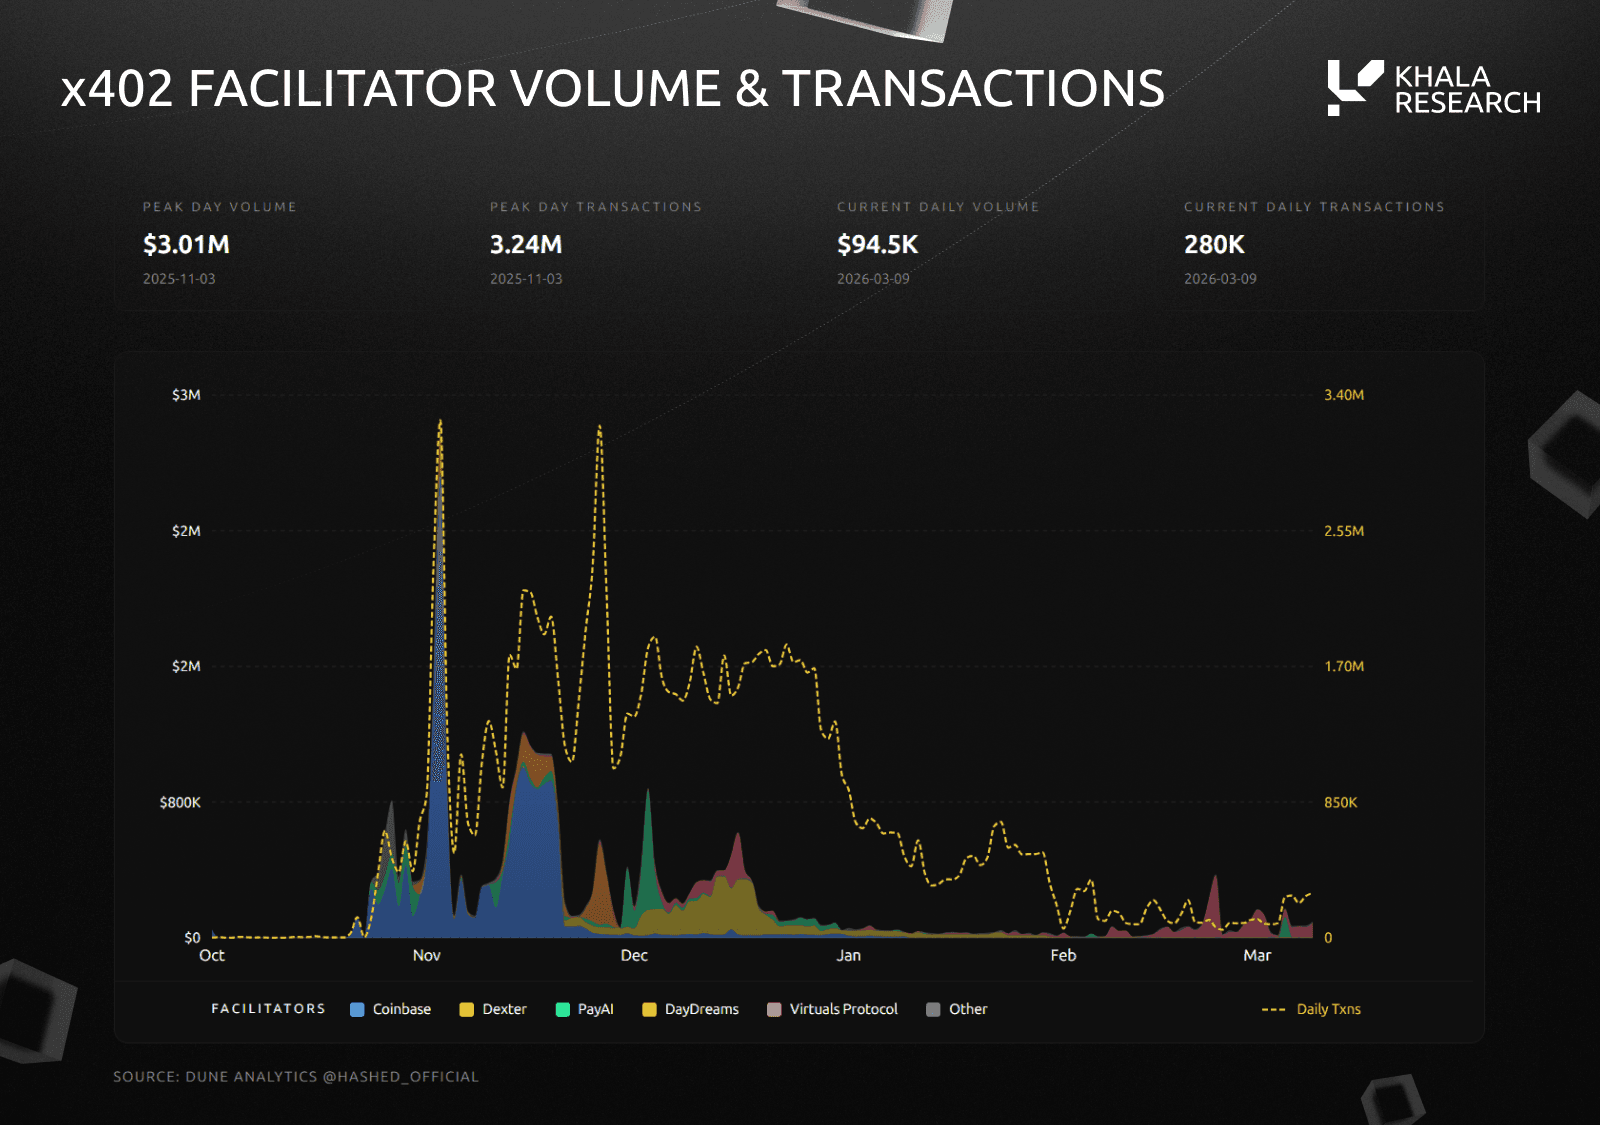
The x402 facilitator acts as the middleware between your premium research API and the payment network. It intercepts incoming requests, validates the payment proof, and passes the request through only when the fee is settled. Think of it as a bouncer at an exclusive club: it checks credentials before letting anyone into the VIP lounge.
We will use the official x402 SDK to install and initialize this facilitator. This setup ensures your API endpoints can natively accept payments from buyers and AI agents without complex custom logic.
Begin by installing the core package in your project directory. Run the following command to add the facilitator to your dependencies:
npm install @x402/facilitator
This package contains the necessary middleware and validation tools required for the integration.
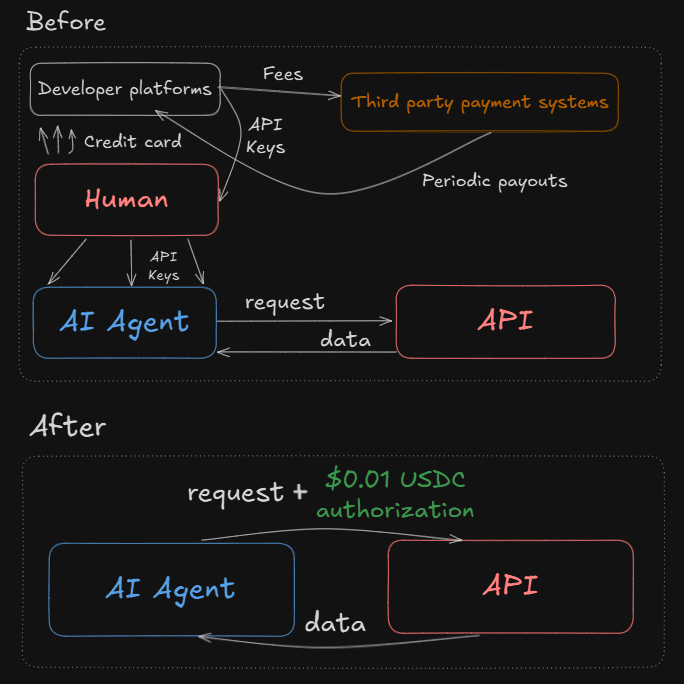
Create a new instance of the facilitator in your application entry point. You will need to pass your API key and the specific research feed endpoints you want to protect. This configuration tells the facilitator which routes require payment and which do not.
import { Facilitator } from '@x402/facilitator';

const facilitator = new Facilitator({
  apiKey: process.env.X402_API_KEY,
  endpoints: ['/api/research/premium']
});
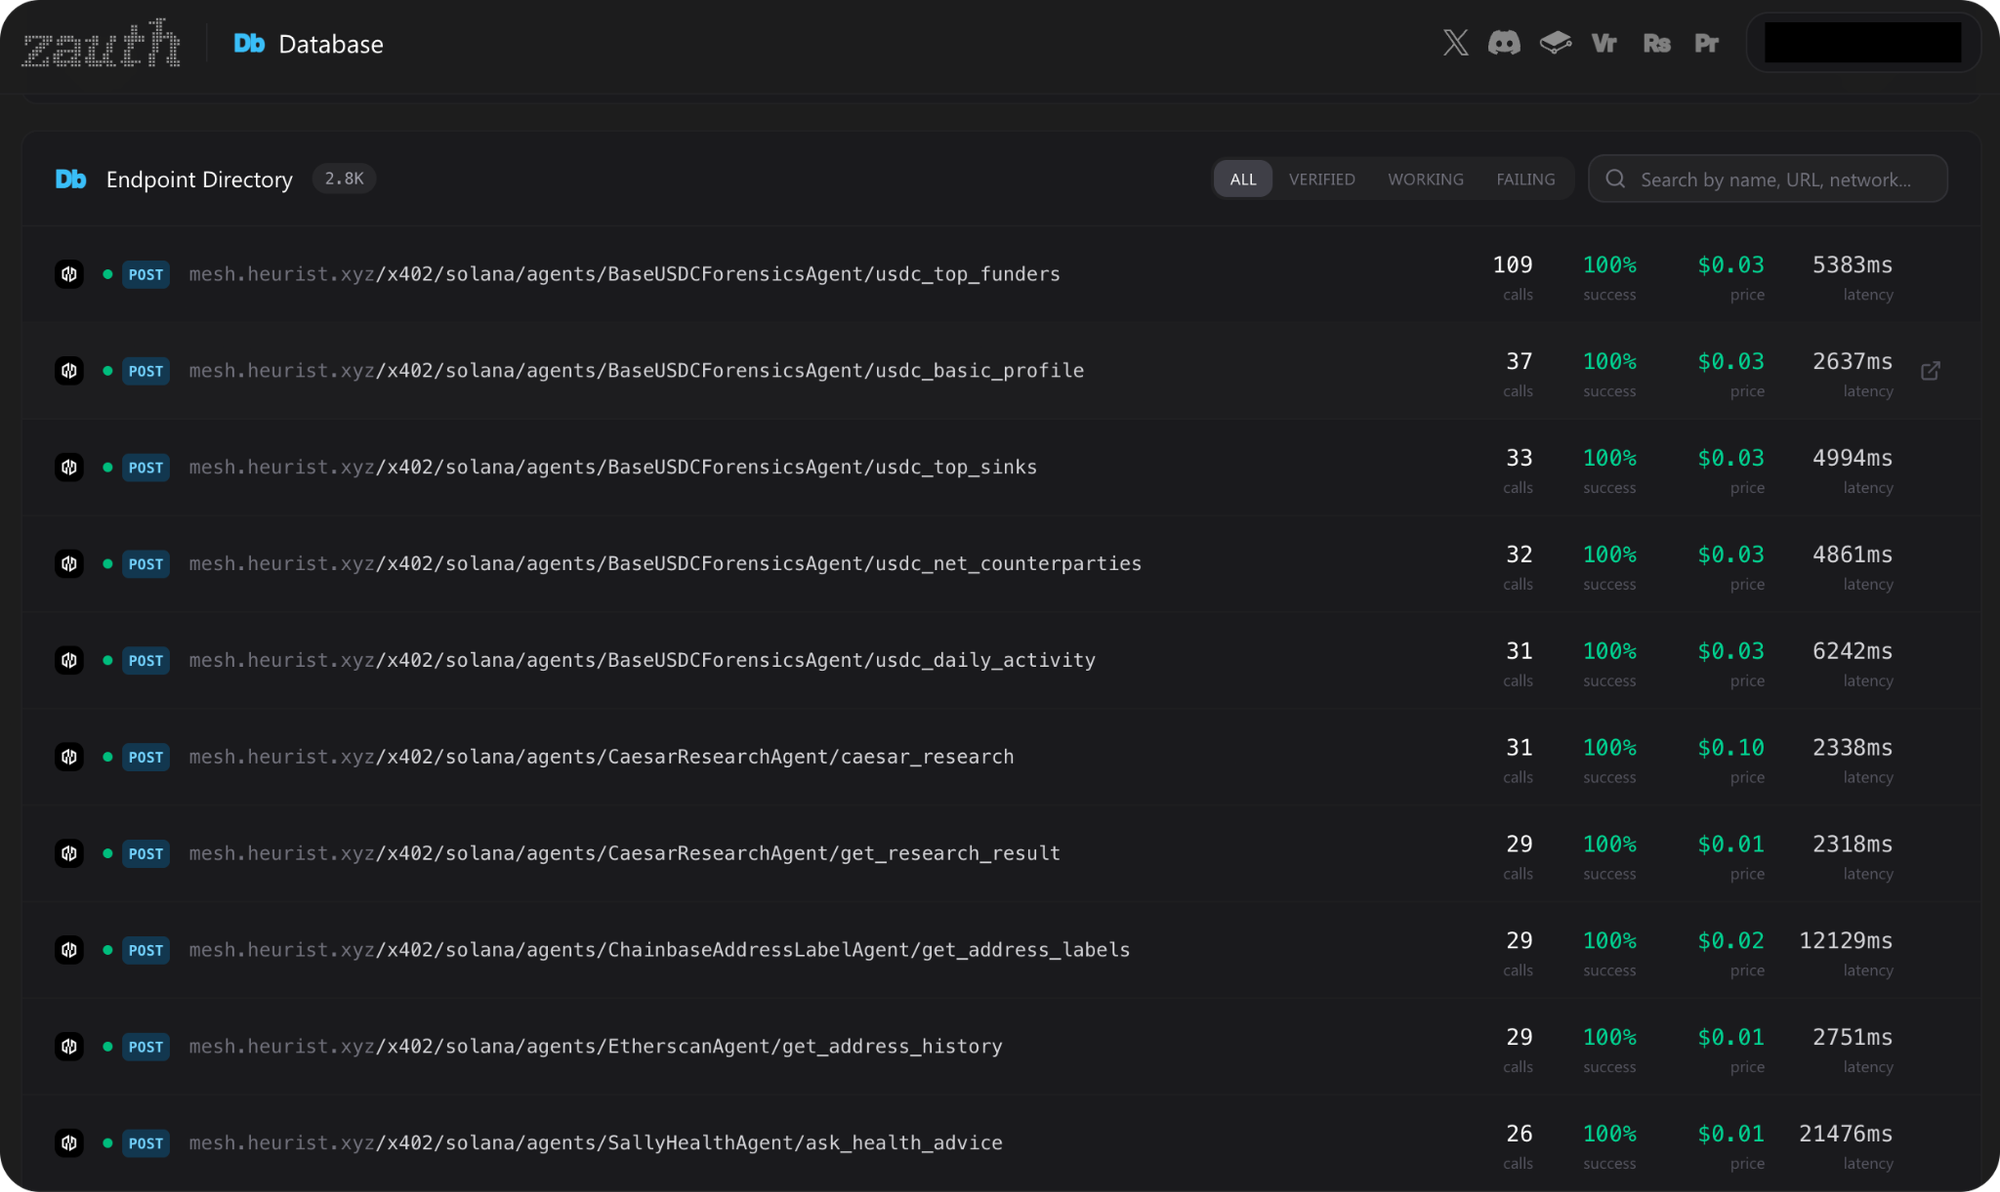
Register the facilitator middleware with your web server. If you are using Express, Fastify, or a similar framework, add the middleware before your route handlers. This ensures every incoming request is evaluated by x402 before reaching your business logic.
app.use(facilitator.middleware());
Start your server and send a test request to a protected endpoint. Without a valid payment proof, the facilitator should return an HTTP 402 status code. Once you have generated a valid proof using a test wallet, resend the request. You should receive your premium research data.
With the facilitator running, your API is now ready to accept x402 payments. The next step is to configure your research endpoints to return the actual data upon successful validation.
Configure environment variables
Before writing any endpoint logic, you need to set up your local environment. This step is about securely storing your network credentials and API keys so your code can talk to the Base chain without exposing sensitive data.
Create a .env file in your project root. This file should hold your private keys, RPC URLs, and any service-specific tokens. Never commit this file to version control. Use a library like dotenv to load these variables into your process environment at runtime.
Here is the minimal set of variables you need for a Base chain integration:
BASE_RPC_URL: The HTTP endpoint for the Base network. You can get a free tier from providers like Alchemy, Infura, or Base’s own public endpoints.PRIVATE_KEY: Your wallet’s private key. Keep this secure. For local development, you can use a testnet RPC and a generated test key.X402_SERVICE_ID: A unique identifier for your service. This helps track which endpoint is generating the payment request.
You can find the official variable names and structure in the x402 documentation. The Coinbase Developer Platform also provides a quickstart guide for sellers that walks through the exact setup steps.
Once your .env file is ready, verify it by printing the values in a simple script. If the variables load correctly, you’re ready to move on to writing the actual endpoint code.
Handle USDC settlement on Base
Your endpoint must verify that the buyer has actually paid before releasing any data. With x402, this happens automatically at the protocol level: the HTTP 402 status code triggers the payment transaction, and your server waits for confirmation before returning the 200 OK response.
Because you are using Base, you are working with a layer-2 network. This means transactions are fast and cheap, but you still need to handle the lifecycle of the USDC token correctly. The Coinbase Developer Platform (CDP) provides the reference implementation for sellers, which you should use as your source of truth for contract interactions [src-serp-6].
Design the research endpoint schema
When building endpoints for premium research feeds, your schema needs to handle two distinct types of data: static company intelligence and dynamic sales signals. The structure you choose determines how easily your clients can parse high-value information without hitting rate limits or over-fetching unnecessary fields.
Start by defining the base path for your company intelligence. A clear, versioned path like /v1/company/research helps clients distinguish between raw data and aggregated insights. This endpoint should return structured JSON containing key metrics such as revenue estimates, employee growth, and tech stack usage. Because this data changes less frequently, you can cache responses aggressively.
For sales signals, the schema becomes more time-sensitive. Use a dedicated path like /v1/sales-signals/find to expose real-time events, such as job postings or funding rounds. These signals are often noisy, so your schema should include filters for date ranges and relevance scores. This allows clients to query only the most actionable leads, keeping their API usage costs low.
Finally, ensure your response objects include a payment_verified flag. Since x402 requires payment before content is served, this flag confirms the transaction status for each request. It also helps clients debug why a specific record might be missing or masked. By structuring your endpoints this way, you create a predictable interface that balances data depth with cost efficiency.
Test the payment flow end-to-end
Before launching your x402 endpoints for premium research feeds, you must verify that the payment gating logic holds up under real conditions. This means confirming that the API correctly blocks unpaid requests and only serves data after a valid transaction is processed on-chain.
Start by sending a request without any payment proof. The endpoint should immediately return a 402 status code, indicating that payment is required. Do not proceed until you see this rejection, as it confirms your payment gate is active.
Next, simulate a successful payment. Use a test environment or a small transaction to pay for access. Once the blockchain confirms the transaction, send a second request including the required payment proof (usually a signature or token). The API should now return a 200 OK status along with the requested research data.
Finally, check the response headers. A well-implemented x402 endpoint often includes headers that specify the payment method, amount, or transaction hash. These headers help developers debug issues and verify that the payment was correctly associated with the request.
Send a request without payment proof. Verify the API returns a 402 status code and no data is served. This confirms the payment gate is active and blocking unauthorized access.
Process a test transaction and send a new request with the valid payment proof. The API should respond with a 200 OK status and the full research data payload, confirming the payment was accepted.
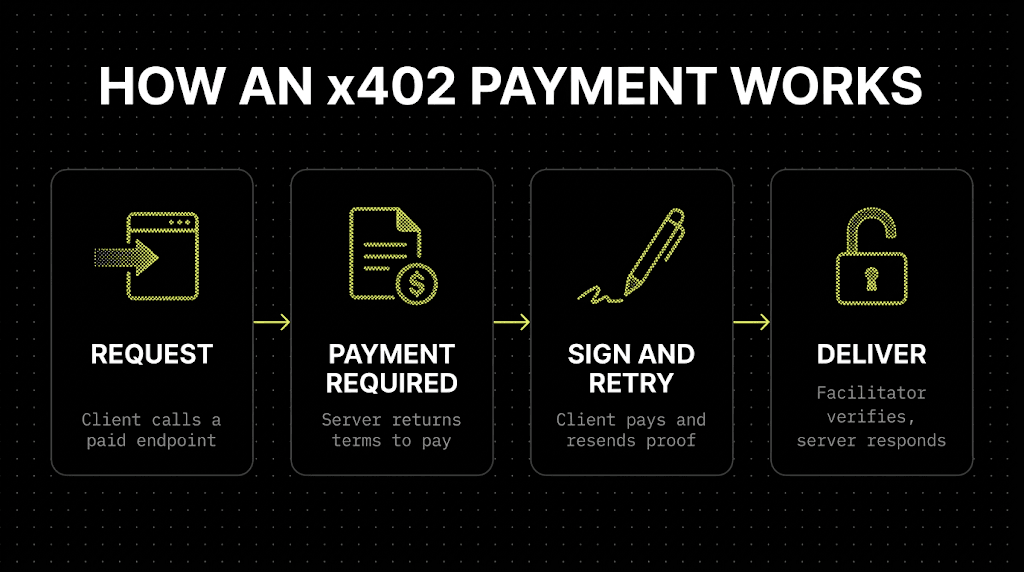
Inspect the HTTP response headers for payment metadata, such as transaction hashes or payment method details. These headers are critical for debugging and verifying that the payment was correctly linked to the request.
-
Confirm 402 status for unpaid requests
-
Verify 200 OK and data for paid requests
-
Check response headers for payment metadata
Common x402 payment: what to check next
Understanding the mechanics of the 402 status code helps you build endpoints that handle payments without friction. Here are the technical details you need to implement the protocol correctly.
Helpful gear
Use these product recommendations as a starting point, then choose the size, material, and price point that fit how you actually use the gear.


As an Amazon Associate, we may earn from qualifying purchases.
No comments yet. Be the first to share your thoughts!